From UX Metrics to Fake Doors: A Course on Product Experiments
How a UX designer learned to design product experiments for her insurance tech company
Reading time: 12 minutes

As a UX designer for an insurance tech company based in Berlin, my work revolves around developing products that assist customers in managing and mitigating risks.
Whether it's insuring their bikes against theft, an all-too-frequent occurrence in a bustling metropolis, or ensuring their beloved pets are cared for in the event of illness or injury. My focus is on crafting innovative solutions that add value to their lives.
However, a certain degree of risk-taking is necessary to stay ahead of the curve and deliver fresh, innovative ideas to our customers. But how can we, as an inherently risk-averse industry, ensure we continue to move forward boldly? How can we substantiate (or disprove) big ideas before dedicating considerable developer time and money to a mere hunch?
I signed up to Designing Product Experiments with the Fountain Institute to find out…
How I learned to design product experiments
So I wasn’t a total newbie to the Fountain Institute’s courses. I took Continuous UX Research about six months prior, and the learnings from that have had a huge impact on my work, so I knew I would be in good hands and was super excited to get started.
What I really like about the Fountain Institute is the interactive element and the opportunity to become part of a community of peers bringing experiences from diverse corners of the industry. You can discuss real-life UX problems and how they were solved or not, as well as share the trials and tribulations of life as a designer.
No matter your level, there is always something you can bring to the table, as well as benefiting from the perspectives of fellow professionals. This comes into play when giving and receiving feedback on tasks, which supercharges your learning.
It’s an added bonus that the serious business of learning to be an effective product designer is delivered with a light and humorous touch. Coming from the sometimes (dare I say) serious world of insurance, I must admit I appreciate a good ‘pallet jack fail’ video, and the creative learning format using the Butter platform offers plenty of opportunity to share a good laugh to balance out the more cerebral content of the course.
To make the concepts really stick and get us grounded in the real world, we were encouraged to apply tasks to real on-the-job projects and challenges. This is also a great way to get feedback from our stakeholders and colleagues to get them excited about the new techniques and concepts we are learning.
Now, let’s get stuck into the course itself.
1. It’s all in the experiment setup.
Week 1 of Designing Product Experiments.
The first week was about setting up experiments soundly (like proper scientists) and starting small, scrappy, low-stakes tests before investing in more complex or expensive testing scenarios.
Hannah and Jeff gave us some handy structures for breaking down the problems we were looking at, ensuring our experiments targeted the right thing. An exciting-sounding idea built on shaky assumptions can easily crash and burn.
A crucial step here is to look closely at which assumptions it might depend on and focus our experiments on proving or disproving those as early as possible. When deciding which assumption to test, looking at desirability (before usability, viability, or feasibility) is key to understanding whether we are addressing our customer’s needs in the first place.
We explored a toolbox of handy product experiments and some basic metrics, then we were ready to start our first assignment: the 1 question survey. It may sound simple, but if you ask the right question, you’ll already have your answer about whether or not to proceed with your big, high-stakes idea. This is pretty powerful as it could save you time and money. Feedback from Hannah, Jeff, and our peers helped us hone in on the most important question.
2. Design the experiment right.
Week 2 of Designing Product Experiments
The second week was all about designing the experiment right. I was excited to learn about “guerilla metrics”: a ‘quick and dirty’ way to get numbers and stats around your product that can help you measure customer behavior. Guerilla metrics are a low-tech way to get UX metrics for your experiments.
Example of a guerilla metric: look at reviews or complaints and count how often a certain keyword or phrase is mentioned to get a quick insight into what customers care about.
One powerful tool we explored was the fake door experiment, which comes in many forms and can be highly effective in testing assumptions about a product. The key to success with fake doors is identifying where your target audience hangs out to ensure you get the best possible feedback. Our task for week 2 was to plan and execute an effective fake door experiment, putting the techniques we had learned into practice.
3. Designers can do analysis & math.
Week 3 of Designing Product Experiments
After testing the waters in weeks 1 and 2, we’re ready to go higher stakes and dive right into A/B tests and more advanced experiments.
To analyse our results, we challenged ourselves with some basic equations and online tools. We also got into a deep discussion about bias (of which there are many different types to be aware!) - all valuable when trying to present results accurately and convincingly to stakeholders and to know when something might be inconclusive and need further exploration.
Part of this week’s task was to analyse the results of our 1-question survey. The results I got were surprising and somewhat sobering! It turned out customers didn’t have a great desire for my idea. But this was crucial to hear and inspired me to adjust my trajectory slightly and keep asking more questions to follow up on my new ideas and solutions.
Key takeaways
Product experiments are crucial to de-risking big ideas as early as possible. But even a very simple low-stakes experiment can be extremely telling and save you from setting off down the wrong track from the get-go. We are always talking about the need for newness and innovation, but only through experimenting right and experimenting early, can we be sure that the ideas we get excited about are really bringing value to our customers.
The course gave me some great tools and methods that I’m excited to try out in my daily work as an insurance product designer. I’m also more confident about setting UX metrics and analysing the results. Gaining a good grounding in solid maths that can back up (or disprove) creative ideas feels quite empowering.
In addition to delivering many aha moments, Hannah and Jeff imbued the course with a lot of passion and fun. I felt truly inspired and ready to roll with my new experiment toolkit.
Thanks so much, Hannah and Jeff!
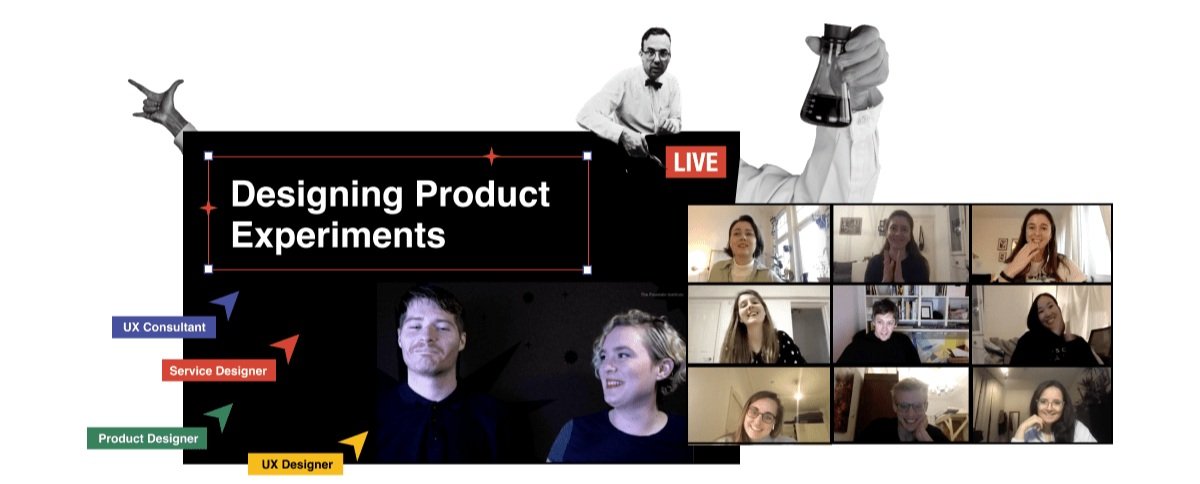
Join the next cohort of Designing Product Experiments: LIVE